


This post will look at how to create a simple vertical timeline in a Nativescript-Vue app, similar to the one possible in Framework7.
As an example, let’s say you want to create an app for a cleaning services company. The company sends its employees to clean different houses/buildings during the day and the employee has to use the app to check-in and check out at every house he/she cleans so that the company tracks the amount of time the employee spends at a place. One of the views (screens) of the app will have to show an employee’s total time(in hours) spent cleaning on each day of a particular month. That's what we create in this tutorial.
Let’s get started. Create the Nativescript-Vue app by running the following command in the Terminal:
ns create my-timeline --vue
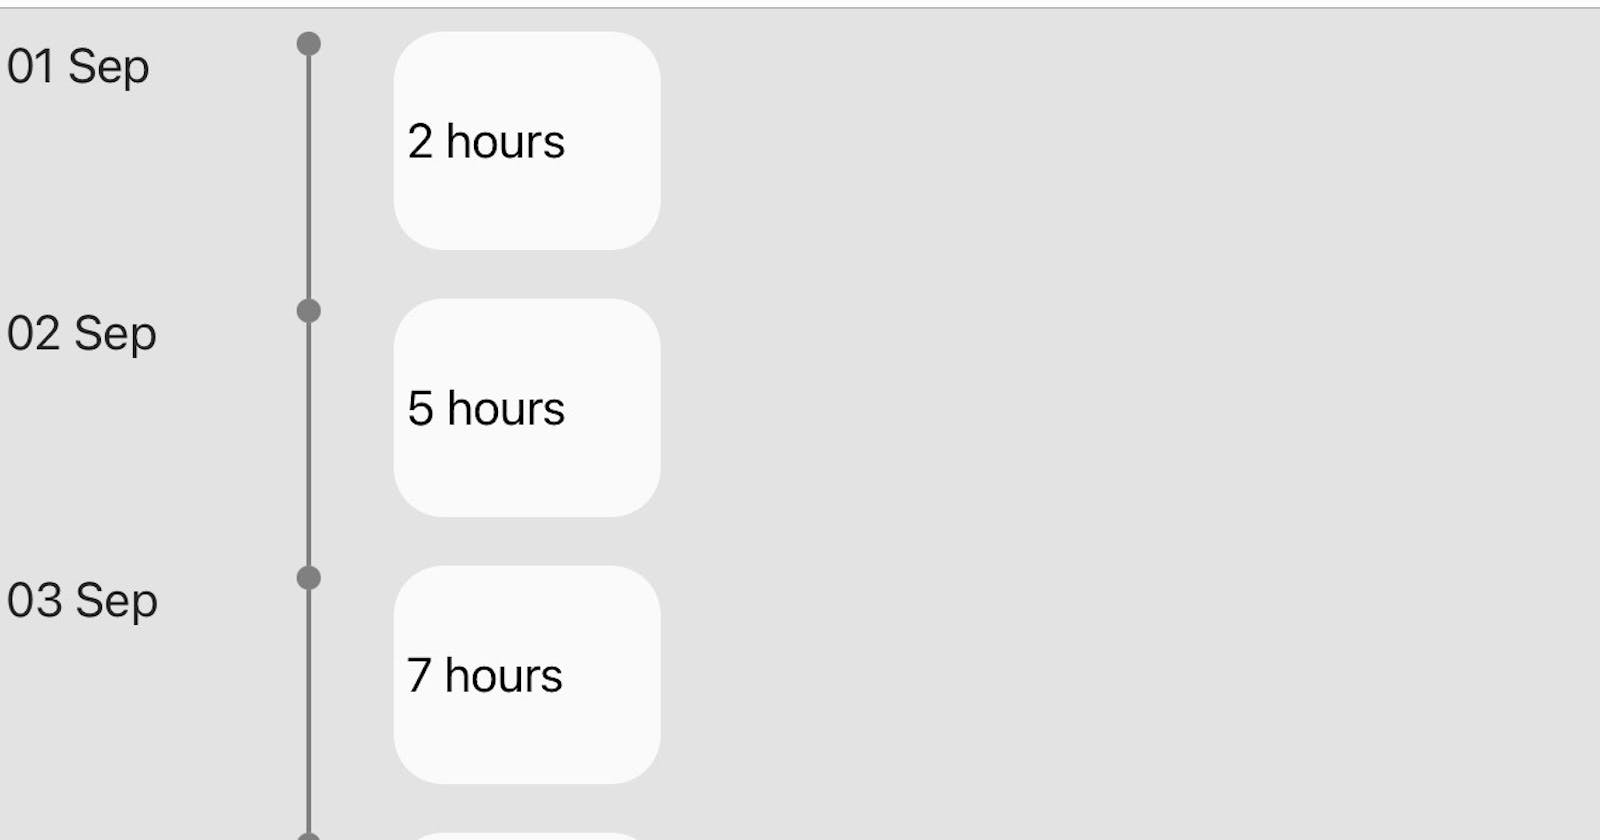
Suppose we want to show the data for September 2020 whose snippet is listed below:
export  const SEPTEMBER = [
    {
        "date": "01 Sep",
        "hours": 2
    },
    {
        "date": "02 Sep",
        "hours": 5
    },
    {
        "date": "03 Sep",
        "hours": 7
    },
    {
        "date": "04 Sep",
        "hours": 5
    }
]
The following code is how to display the data in a timeline component:
<template>
    <Page>
        <ActionBar title="Home" />
        <ScrollView>
            <StackLayout padding="10" backgroundColor="#e3e3e3">
                <GridLayout columns="100,50,120" class="home-panel"
                    v-for="(item,index) in sepData" :key="index"
                    @tap="onItemTap($event,index)">
                    <!-- DATE -->
                    <Label col="0" textWrap="true" :text="item.date"
                        verticalAlignment="top" />
                    <!-- DIVIDER -->
                    <GridLayout col="1" rows="10,100">
                        <!-- point -->
                        <ContentView row="0" width="10" height="10"
                            backgroundColor="#808080" borderRadius="50"
                            verticalAlignment="bottom" />
                            <!-- connector -->
                        <ContentView v-show="index!=(sepData.length-1)"
                            row="1" width="2" height="110"
                            backgroundColor="#808080" />
                    </GridLayout>
                    <!-- DURATION -->
                    <Label v-show="item.hours" col="2" class="hours">
                        <FormattedString>
                            <Span :text="item.hours"></Span>
                            <Span text=" hours" />
                        </FormattedString>
                    </Label>
                </GridLayout>
            </StackLayout>
        </ScrollView>
    </Page>
</template>

<script>
    import {
        SEPTEMBER
    } from "./data";
    export default {
        data() {
            return {
                sepData: SEPTEMBER
            };
        },
        methods: {
            onItemTap(args, indx) {
                alert(`Item tapped: ${indx}`);
            }
        }
    };
</script>

<style scoped>
    .home-panel {
        font-size: 20;
    }

    .hours {
        background-color: #fafafa;
        padding: 5;
        margin-bottom: 20;
        margin-left: 10;
        color: #000;
        border-radius: 20%
    }
</style>
In this example we used <ContentView> elements to create the divider, but we could have used an empty <Label> (or any other element) element instead.
That’s it. To create a timeline specific to your needs, you just have to tweak the styling attributes in VerticalTimeline.vue. In Nativescript Core , you use element in place of Vuejs’s v-for directive.
Appendix:
- Find the repo for the code used in this article here.